Welcome To New Extenders
New extenders setup-Quick Instructions to
Link Your Router and Extender!
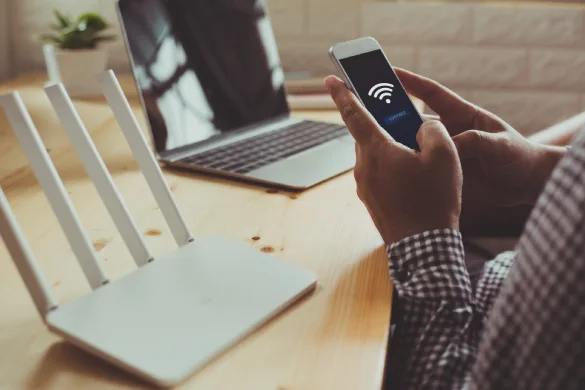
Connecting to New Extender Setup
New Extender Setup is a local web address used to access the settings for configuring Extender setup and other wizards related to extenders. When users attempt to access this web address to set up their wireless extender, they may encounter technical issues resulting in error messages or failure to connect to the site. Essentially, it serves as a login page for managing network access through wifi devices.
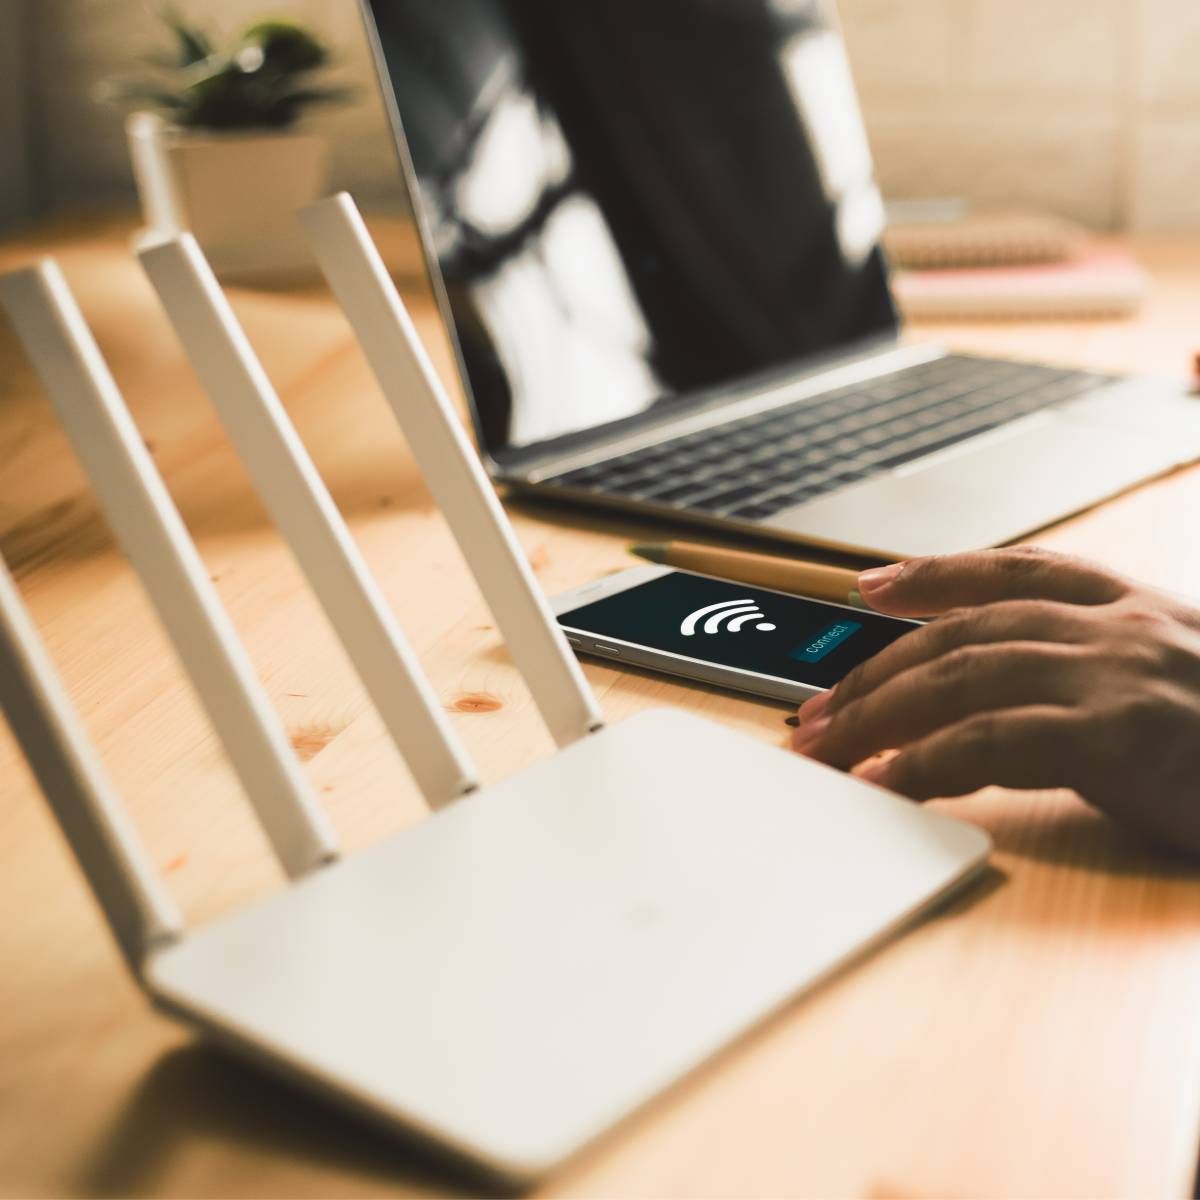
To open the Default Extender Setup web address, your Extender device must be Plugged in a range of 5-10 feet from your router either via an Ethernet cable or wirelessly to ensure proper signal reception. Different web browsers display various error messages when attempting to run Default Extender Setup. You can get help from our online agents.
Installation Methods For Extender Setup
Setting up your web browser involves manually configuring your extender to work with your existing router by accessing a smart setup page through your browser.
Setting up a wifi extender
- Initially, place your range extender and wireless router in the same room. Later, you can move them to their desired locations.
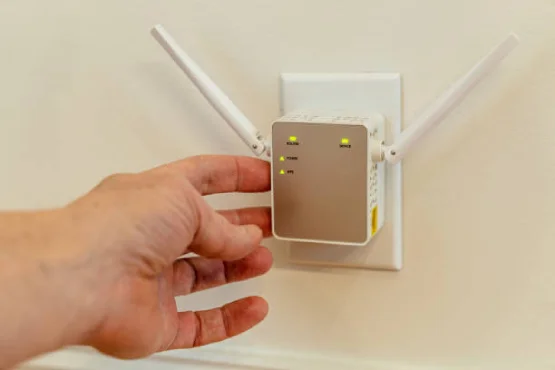
- Plug your range extender into a power source and wait for the power LED to turn Steady/solid.
- Check if the PC to extender LED or device to extender LED on the wifi extender is lit up.
- Enter the extender's default IP address (On the back of your Extenders} into your browser's address bar. If issues persist, reset your browser and try again. Test with different web browsers like Google Chrome and Mozilla Firefox, available on all major operating systems.
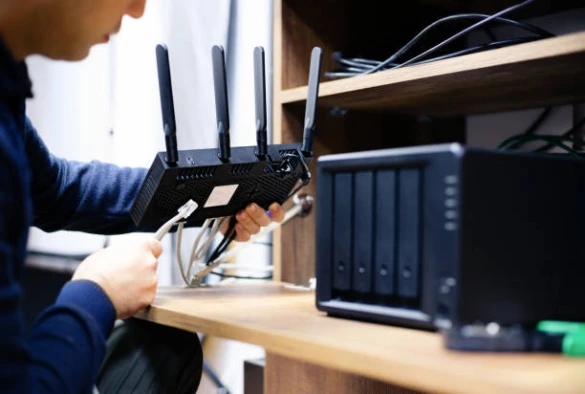
- Establish a connection between the extender and router using an Ethernet cable.
Setting Up Your Web Browser for New or Existing Extender
- To manually set up your Range Extender, open the New ExtenderS Setup page in your web browser or click on NEW EXTENDER SETUP
- Follow the on-screen instructions provided on the New Extender Setup page to complete the setup of your Range Extender.
- If you encounter an error message stating you are not connected to the range extender when trying to access New Extender Setup, it's because New Extender Setup is not a regular internet website. Instead, it is a local web address explicitly used to open the New Extender Setup Page or Smart Wizard for your Wireless Range Extender.
Smart Setup Wizard
- Use a WiFi-enabled device such as a computer or smartphone.
- Open a web browser and navigate to theNew Extenders Setup web address.
- You'll be prompted to choose between setting up a New Extender or Reconnecting an Extender.
- Click on "New Extender Setup" and create an account by filling in all required details.
- After clicking "Next," the setup process will scan nearby networks and display a list.
- Select your home network and click "Next."
- Enter your network password and click "Next."
- Follow the on-screen instructions to establish the connection between your router and extender.
- Wait for two minutes and then connect your devices to the extender's WiFi network.
- Your setup is complete. You can now unplug the extender and place it in your desired location.
WPS Setup
For WPS Connections :
- Press the WPS button on your extender; the WPS LED will start blinking.
- Next, press the WPS button on your router or access point.
- If the WPS LED on the extender turns solid green, and the Router Link LED also turns solid, your extender is successfully connected to the router or clicks on NEW EXTENDERS SETUP
- If the connection isn't successful, retry the process or consider using the web browser installation method for setup.
Access Point Configuration
- Plug the extender into a power outlet and wait for the Power LED to turn green. If it doesn't light up, press the Power On/off button on the side.
- Ensure the Access Point/Extender switch is set to Access Point mode.
- Use an Ethernet cable to connect the extender to an Ethernet LAN port on your router.
- Click on the NEW EXTENDERS SETUP button.
- Fill in the required fields on the Create Account page and click "NEXT".
- The setup will check if the Access Point/Extender switch is set correctly. If not, switch it to Access Point mode and refresh the page.
- Click "CONTINUE", and the extender will detect your router's Internet connection.
- Follow the prompts to set the network name (SSID), security settings, and passwords for both the 2.4GHz and 5GHz networks, then click "NEXT".
- Connect your WiFi-enabled device to the new extender's network using the SSID and password you just set up. For example, if your existing WiFi network name (SSID) is "MyHomeNetwork", the new extender's SSID might be "MyHomeNetwork_2GEXT" for 2.4GHz and "MyHomeNetwork_5GEXT" for 5GHz.
Can’t Access Web Browser Setup, What Do I Do?
Here’s a simplified guide for you:{here we can use the things he/she can check like
- Make sure extenders are in a range of less than 10 feet for initial setup.
- Please check if the solid light{green/blue} is on there.
- Check if both the PC to extender LED and device to extender LED are lit on the wireless extender.
- Please ensure you are using the same default i.p address for your extender in a right browser. If you encounter issues, try resetting your browser or using a different web browser like Google Chrome or Mozilla Firefox, which are compatible with all major operating systems.
- Try Connecting the extender to the router using an Ethernet cable.
- Finally, assign a static IP address to your PC and note down the default gateway or router address. You can use the IP address 192.168.. and subnet mask 255.255.255.0.
How do I Log In to the extender
- Open a web browser on any computer or mobile device connected to your extender's network.
- Enter "mywifiext" into the address bar of your web browser.
- Press Enter. This action will bring up a login page.
- Use the Username and Password you set during the initial manual setup to log in.
Note
We're Here To Help! Call Us Today!
Our Testimonials
What They’re Saying
I was struggling with weak WiFi signals in my home, but after following the setup guide here, my extender started working perfectly. The instructions are straightforward and very helpful for beginners.
Amanda ClarkThis website made the extender setup process extremely simple. The smart setup guide helped me reconnect my device quickly. I highly recommend these instructions to anyone facing setup issues.
David ThompsonGreat support and clear instructions! I followed the smart setup steps and my extender was connected in no time. It saved me a lot of time and frustration.
Lisa Anderson
I was having trouble setting up my extender, but the instructions were very clear and easy to follow. Within minutes my connection was stable and working perfectly. Highly recommended for anyone needing quick setup guidance.
John Miller